
Garden Party - Part 1

There were so many details and parts to these treats, that I decided to split the ideas and info into two posts. The first will focus on decoration aspects - cupcake details, smash cake, and some other garden decor. Later this week, I will provide a post with some new recipes I used for these treats. So make sure and check back for an egg-free "skinny" cake and a strawberry cupcake with strawberry buttercream.
First up, let's start with the cupcakes.

I started baking the day before as I had 60+ cupcakes and a smash cake to finish. Then bright and early the morning of the party, I started decorating. I felt like it was my own private version of Cupcake Wars! My husband made a pretty great assistant smashing up Oreos and cutting marshmallows! But, the day wasn't without incidents. It seemed like everything I worked on had something go wrong. Thankfully most of it was easily fixable like falling marshmallow petals or a piping bag bursting. You can find a tutorial for making the three flower cupcakes here.
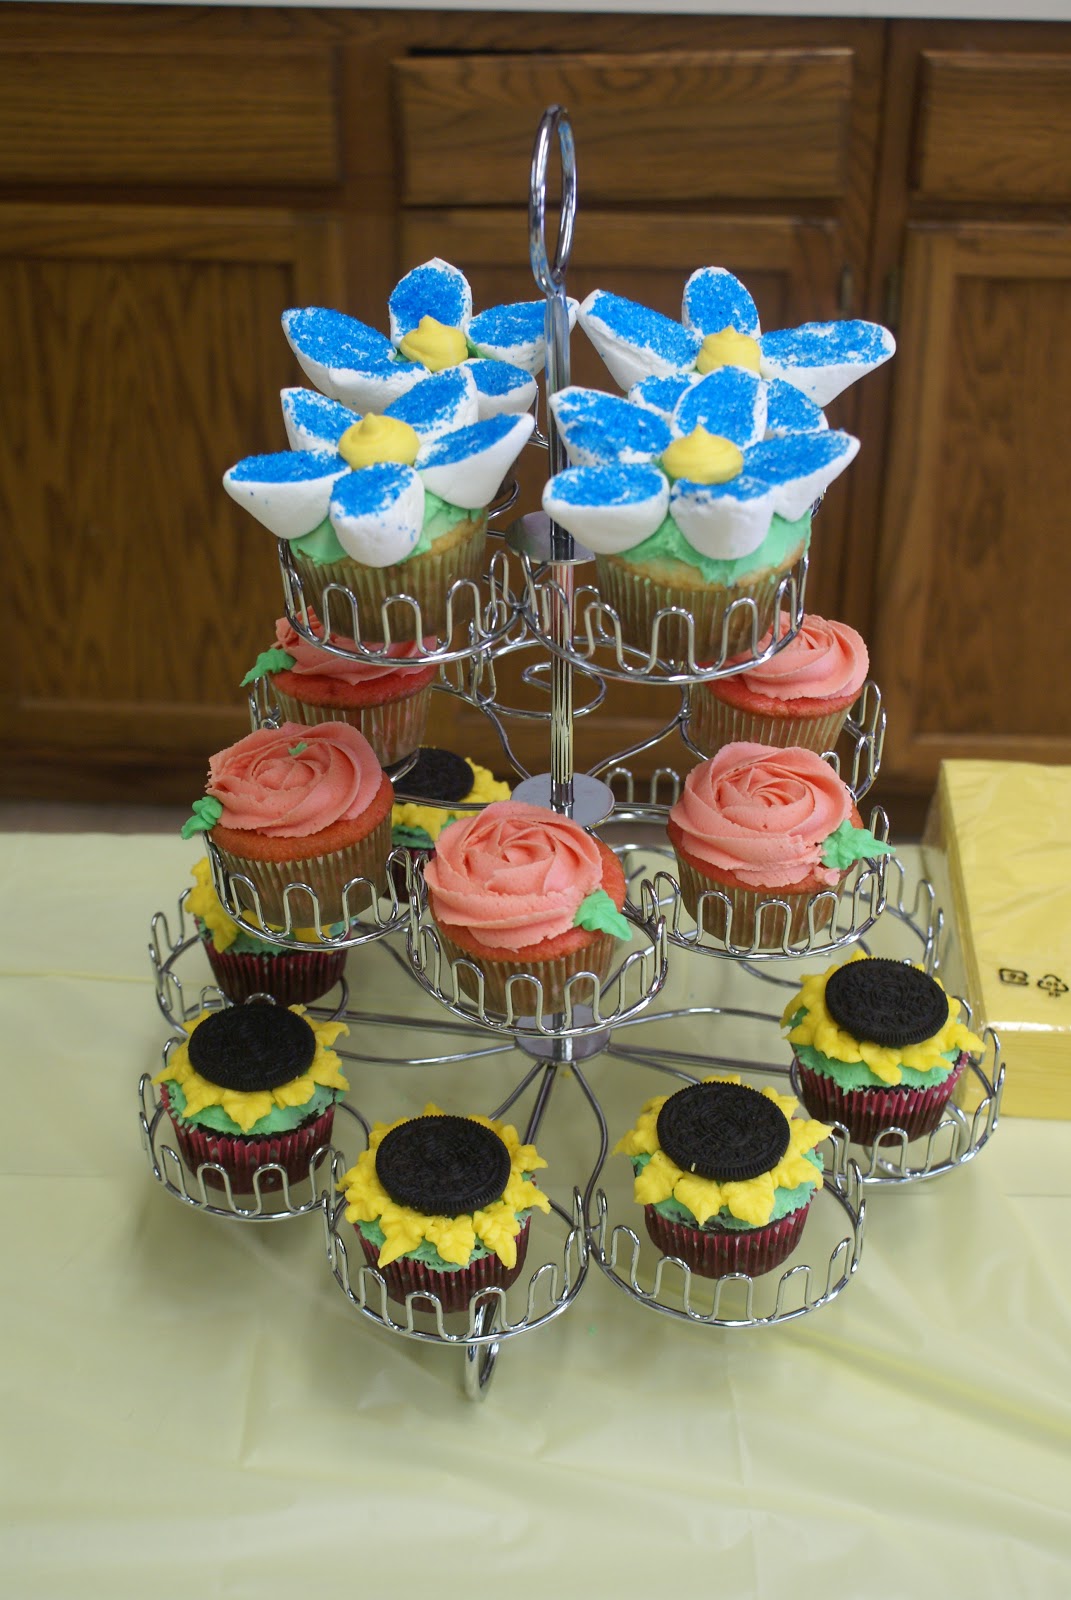
When I made them last time, I used canned icing. My buttercream worked much better, except for the sunflowers. I actually used real hard decorator's canned icing last time for the petals so they were extremely stiff. Unfortunately, the icing doesn't taste very good and they were super brittle. This time I used the stiff version of my buttercream. The petals drooped a little, but were still really cute and tasted a lot better. I'm making these again in a few weeks so I'm going to try to add even more powdered sugar and try to get them a little stiffer.
Next up, the smash cake!
Next up, the smash cake!

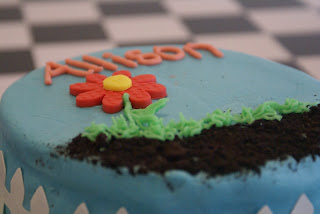
After finishing the cupcakes, I started working on the smash cake. I had looked around online, but hadn't really found an idea that I loved for this special cake. Finally, I decided to try and come up with my own. I was a little nervous to see how the idea translated from my mind to cake, but I think it turned out cute! The cake is simpler to make then it looks, when you have the right tools. Below is the tutorial for the cake. Unfortunately, I didn't get a lot of pictures as I was under a time constraint and trying to really focus on the task (especially after numerous issues in the kitchen).
- Cut out fences using Cricut Cake (Cake Everyday cartridge) and Wilton sugar sheets in white or brown (you could cut out using Exacto knife and printed template if you don't have a Cricut)
- Bake cake and cool
- While cooling, smash up a couple Oreos into a fine powder
- Once cooled, slice cake in half and fill with buttercream (I used pink for a girly surprise when she dug in)
- Cover cake in light blue buttercream and smooth out
- Place fence pieces around the side of the cake
- Cover the side of the cake with a paper towel or wax paper to prevent Oreos from getting on the sides (pressing against lightly so as not to make indentation)
- Add crushed Oreo pieces to the bottom section of the top of the cake to create the dirt look
- Remove the paper towel
- Create a fondant flower using pink and yellow fondant with the Wilton button flower cut and press set, or a cookie cutter
- Place flower an inch or two above the dirt
- Put some green buttercream in an icing bag (with a coupler if possible) and use the grass tip 351
- Pipe icing to look like grass all around the edge of the cake and along the top of the Oreo "dirt"
- Change the green piping bag tip to #3 (or start a new bag) and pipe a line from the dirt to the flower
- If you'd like to add a leaf, use the tip #352
- Finally I used some pink buttercream and tip #3 to pipe her name across the top, the open space was left for a candle added at the party

Here's a close-up of one of the pots.

I used PicMonkey to create the signs. I found cute clipart of a sunflower, blue daisy, and rose. I added an overlay banner and text that read "Sunflower Chocolate Cupcakes," "Blue Daisy Vanilla Cupcakes," and "Rose Strawberry Cupcakes." Not only did this help the guests, but it added some cute decor to the table.

Hope you've enjoyed these decor ideas! Check back in a couple days for the recipes I used. After all, you want the cake to be as delicious as it is cute! I also have another first birthday part to bake for next weekend, so check back for elephant and blue themed cakes for a one year old little boy!

